
Introduction: The Hidden Cost of Sweater Sampling
In apparel supply chains, sweater sampling costs is where brand founders and designers burn the most budget—and lose the most sleep. First-time brands often wonder why a sweater proto costs far more than a T-shirt or woven jacket sample, and why three rounds of revisions still don't nail the fit.
The answer lies in a fundamental manufacturing difference:
- Cut & sew is fabric-first. Design starts with existing fabric. Physical properties are locked in before the cutting table.
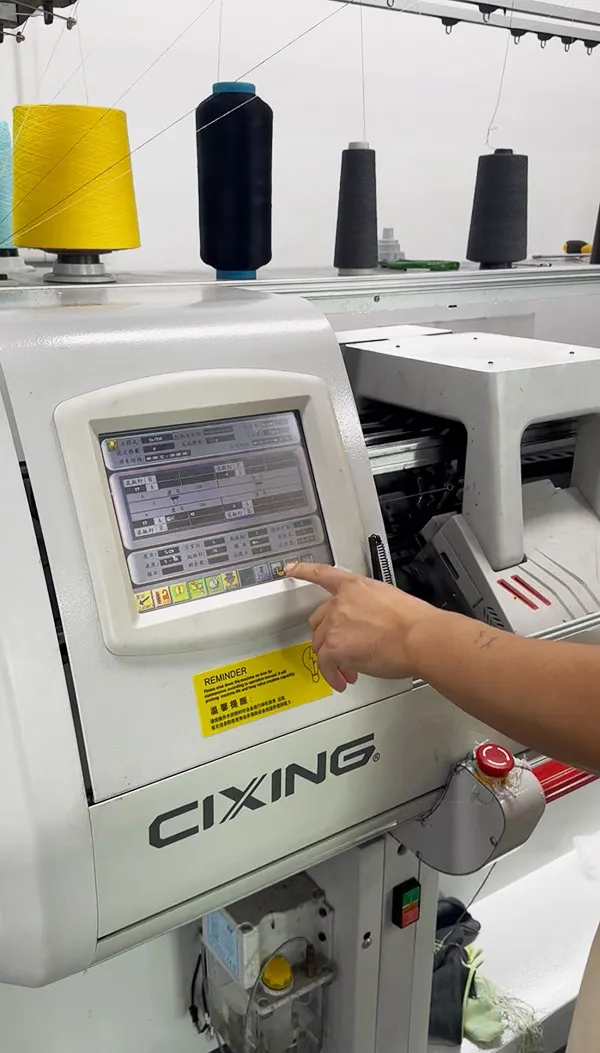
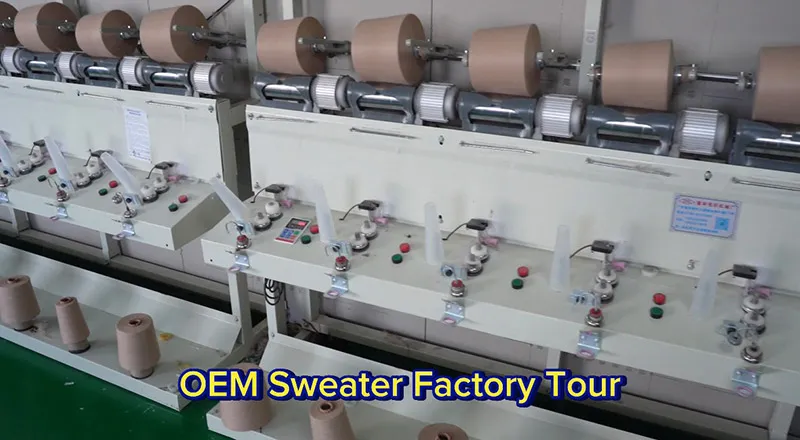
- Sweater knitting is yarn-first. You start with a cone of yarn and knit structure, garment shape, and final dimensions simultaneously on a computerized flat knitting machine.
This "knit-to-shape" nature leaves almost zero room for error. Data from the factory floor shows that over 80% of wasted sweater samples and repeat revisions don't stem from factory skill—they trace back to missing or contradictory knitting engineering parameters in the apparel tech pack. When a design sketch lacks the correct gauge, yarn count, and shrinkage matching, even an experienced knitwear manufacturer can only guess. And guessing burns money.
This guide breaks down—from a factory-floor engineering perspective—how to tighten up your tech pack parameters and streamline sampling workflow so you get it right the first time.
The 3 Pillar Variables: Gauge, Yarn Count, and Shrinkage
If you want a tech pack that translates directly into an accurate sample, you need to master the three engineering variables that dictate sweater formation and cost:
1. Gauge (G) and Machine Logic
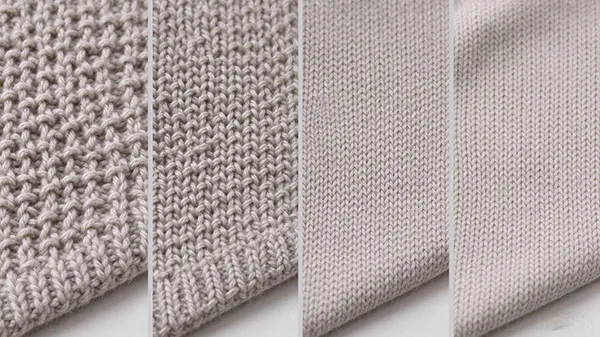
Gauge refers to the number of needles per inch on the needle bed of a computerized flat knitting machine:
- Coarse gauge (3G–5G): Heavy, chunky autumn/winter sweaters.
- Mid gauge (7G–12G): The workhorse range—covers most year-round styles.
- Fine gauge (14G–18G): Smooth, flat fabrics for premium base layers and lightweight knits.
Common mistake: Designers submit a rendering without considering the physical limits of needle-to-yarn ratio. Force a coarse yarn through a 12G machine and you'll get constant needle breaks. Go too fine and the fabric turns sheer and gappy—instant sample rejection.
2. Yarn Count, Ply, and Machine Matching
Yarn thickness is typically expressed in Nm yarn count (metric count—e.g., 2/28 Nm means 28 meters per gram, 2-ply) or Ne (English cotton count).
Matching logic:
- The same 2/28 Nm worsted wool runs at 2-ply on a 12G machine.
- Switch to 7G and you'll need 4–6 plies to achieve a full hand-feel.
If your tech pack lists "wool composition" but omits ply count, the sample knitter is guessing. Get the ply wrong and the first proto comes back either board-stiff or limp—straight to the reject bin.
3. Knit Structure and Finishing Shrinkage
Structural tension differences: Single jersey holds its dimensions reasonably well. Rib, cable, and cardigan stitches eat significantly more yarn and carry high tension—they drastically affect off-machine dimensions.
Wash-and-milling shrinkage: Cashmere and wool can shrink 5–15% after washing and milling.
The fix: Every measurement in your tech pack must be labeled as finished spec measurements (post-wash), with hand-feel requirements noted (light milling vs. soft wash). This lets the factory reverse-engineer off-machine dimensions with precision.
The Gold Standard Sweater Tech Pack Checklist
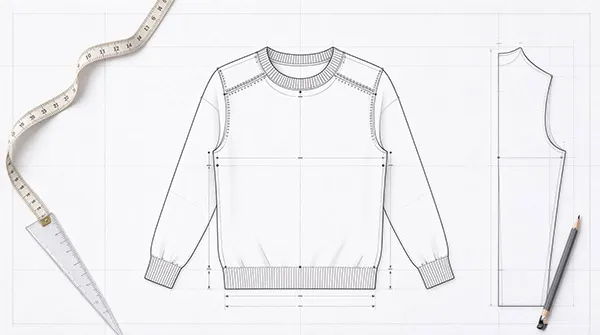
A tech pack that lets the CAD programmer and sample knitter execute accurately on the first pass must contain these 7 standardized engineering modules:
- Style Flat Sketches with Construction Callouts: Clear front and back flats. Specify armhole type (set-in, drop shoulder, raglan), neckline details, and shaping/seam positions.
- BOM & Construction Specs: State gauge (e.g., 12G), yarn count (e.g., 2/28 Nm), ply, and stitch structure for each body panel.
- Linking & Fashioning Standards: Note linking gauge, whether armholes and necklines use visible or hidden fashioning, and the stitch count for visible fashioning marks.
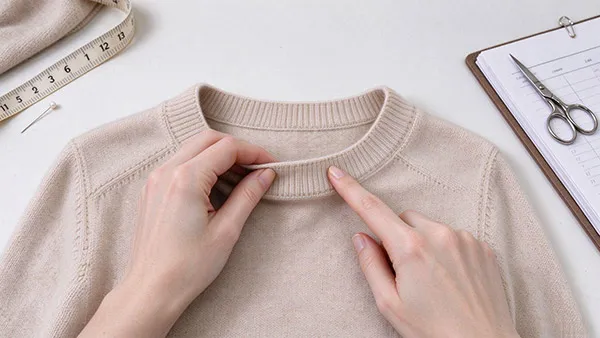
- Finished Measurement Spec & POMs: Provide post-wash measurements. Pay special attention to sweater-specific POMs—neck rib and hem rib in both relaxed and stretched states.
- Colorway & Artwork Repeats: For jacquard, intarsia, or stripes—supply Pantone numbers, absolute artwork dimensions (cm), and pattern repeat cycles.
- Wash & Finishing Requirements: Clearly state the wash process (light milling, anti-shrink treatment, or soft wash) and define the target loft and hand-feel.
- Tolerance Guidelines: Set realistic tolerances based on knit elasticity (body width typically ±1–1.5 cm). Don't trigger a re-sample over normal elastic variation.
7 Practical Strategies to Slash Sampling Costs and Revisions
To drive sampling costs down and kill the revision merry-go-round, here are 7 factory-tested strategies you can implement immediately:
Strategy 1: Swatch First, Garment Later
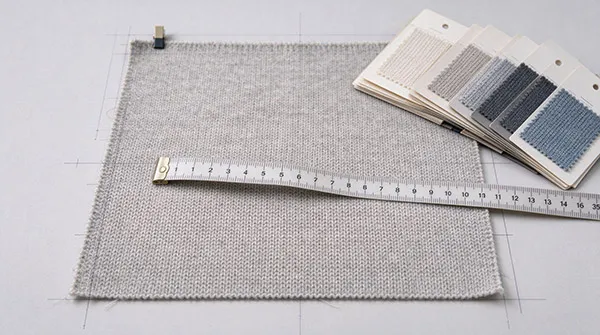
Before committing to a full garment sample, ask the factory to knit a 30cm × 30cm swatch. This quickly tests yarn hand-feel, stitch density/tension, and shrinkage. Swatch programming and knitting costs pennies. If the hand-feel or structure is off, you fix it here—not on a $500+ garment sample.
Strategy 2: Stock service yarn for Proto Samples
The proto sample's job is to validate fit, silhouette, and seam construction. Don't order custom-dyed yarn for round one. Custom dyeing brings dye lot fees, high MCQs, and weeks of lead time. Use stock service yarn in the same quality and count for the proto. Lock the fit first—then go to bulk color at the PPS stage.
Strategy 3: 15-Minute Pre-Screening with Technicians
Before the tech pack goes to CAD programming, do a quick call with the factory's technical director or programmer. Run a "knittability" pre-check. Ask: Will this structure snap yarns? Can the armhole shaping be automated? Eliminate engineering flaws before the machine ever runs.
Strategy 4: Embrace wholeknit seamless tech
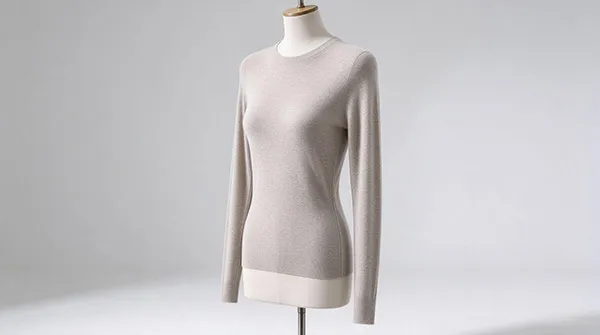
Where design allows, prioritize Shima Seiki WholeGarment or similar 3D seamless knitting. The garment comes off the machine finished—no manual cutting, no linking errors. This eliminates re-samples caused by uneven seaming or twisted seams at the source.
Strategy 5: Establish Base Fit Slopers
Mature sweater brands don't develop every style from zero. Build 3–5 proven base slopers (classic drop-shoulder, set-in slim fit, etc.). Each season, carry over the gauge, yarn count, and core measurements from the sloper. Tweak only the artwork or neckline. This pushes first-pass sample approval rates above 90%.
Strategy 6: Standardized Fit Review Process
When samples arrive, follow an objective evaluation sequence: measure unwashed/unpressed dimensions first, then compare against post-press measurements. This pinpoints whether the deviation comes from programming, shrinkage, or pressing stretch. And consolidate all team feedback into one submission—don't send "change the neck depth today, change the sleeve length tomorrow."
Strategy 7: Grant Your Sample Knitter "Plan B" Authority
Build engineering flexibility into the tech pack. For example, authorize the knitter to adjust by 1 ply or add a touch of Lycra for elasticity and stability—provided the finished thickness and hand-feel stay on spec. This prevents the factory from blindly running unreasonable parameters and producing a physically flawed sample.
Conclusion & Actionable Takeaway
Controlling sweater sampling costs and shortening development cycles was never about squeezing factory processing fees. It's about using professional knitwear engineering language—the tech pack—to eliminate trial-and-error from your supply chain.
When a brand can precisely define gauge, yarn count and ply, knit structure, and finishing shrinkage, sampling stops being a gamble on factory intuition. It becomes a predictable, repeatable manufacturing process.
Actionable Takeaway:
- Build a standardized tech pack template. Self-check against the 7 engineering modules before every design submission.
- Commit to "swatch first" and stock service yarn sampling. Lock hand-feel and stitch density at the lowest possible cost.
- Choose production partners who speak engineering. Work closely with sweater factories that have digital programming capabilities and deep manufacturing experience—control "knittability" at the source.
A precise tech pack doesn't just save you tens of thousands in sampling budget. It's the foundation of an efficient, stable supply chain.
Ready to Streamline Your Sweater Production?
A precise tech pack is step one. Finding a production partner who reads your design's engineering language is equally critical.
With 20 years of knitwear manufacturing experience, JM Sweater specializes in standardizing the sampling process. From 30×30cm swatch tension testing and rapid stock service yarn color matching to 3G–18G computerized flat knitting and WholeGarment 3D seamless production—our technical team offers a free knittability pre-screening before CAD programming. We help you wring every drop of waste out of your sampling budget.
📩 Developing a new sweater style? [Contact our engineering team] with your sketches or tech pack for a professional assessment and fast sampling proposal.